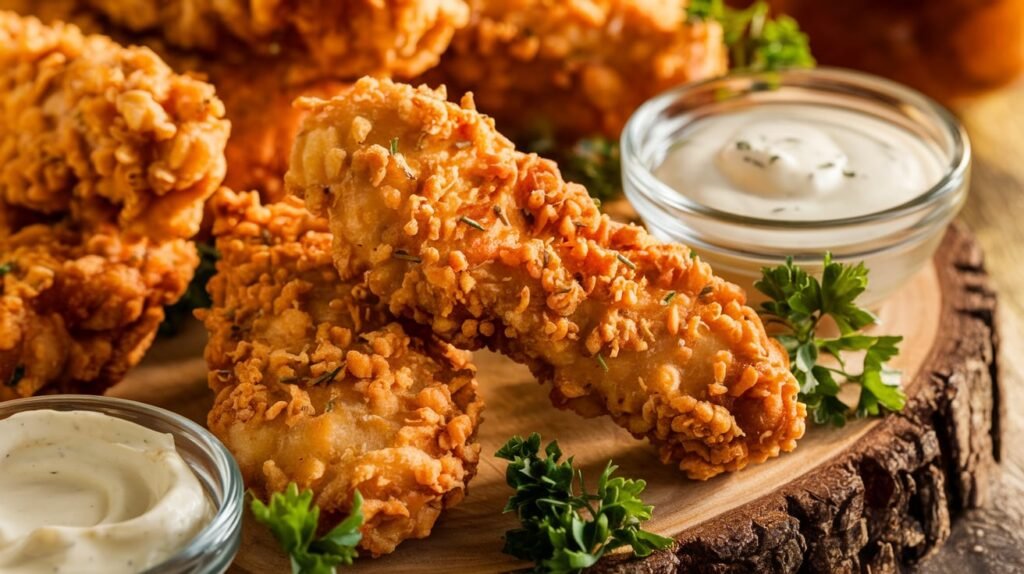
Crispy buttermilk chicken tenders are the ultimate comfort food. These golden-brown, juicy chicken strips are perfect for family dinners, game nights, or as an appetizer for any gathering. Whether you prefer frying or baking, this recipe guarantees tender, flavorful chicken with a crisp coating that everyone will love.
Nothing beats the crispy texture and juicy flavor of homemade chicken tenders. Whether fried or baked, they’re a favorite among kids and adults alike. If you’re a fan of crispy fried chicken, you might also enjoy exploring the Authentic Crown Fried Chicken Recipe, which offers another delicious take on this comfort food classic.
Why Choose Buttermilk Chicken Tenders?
What sets buttermilk chicken tenders apart is the buttermilk marinade. Soaking chicken in buttermilk not only adds flavor but also tenderizes the meat, ensuring it stays juicy even after frying or baking. Plus, the tangy buttermilk helps the breading stick better, resulting in a perfectly crisp coating.
In this article, you’ll learn how to make:
- Perfectly crispy buttermilk fried chicken tenders.
- Healthier buttermilk chicken fingers baked without compromising on flavor.
- Tips and tricks for achieving a restaurant-quality chicken tender strip.
- The best methods for frying chicken strips fry without greasy results.
Whether you’re a seasoned cook or a beginner, this guide will help you master the art of making crispy buttermilk chicken tenders. Let’s get started!
Why Use Buttermilk for Chicken?
Buttermilk is the secret ingredient that takes ordinary chicken tenders to the next level. It doesn’t just add flavor—it transforms the texture of the chicken, making it irresistibly tender and juicy.
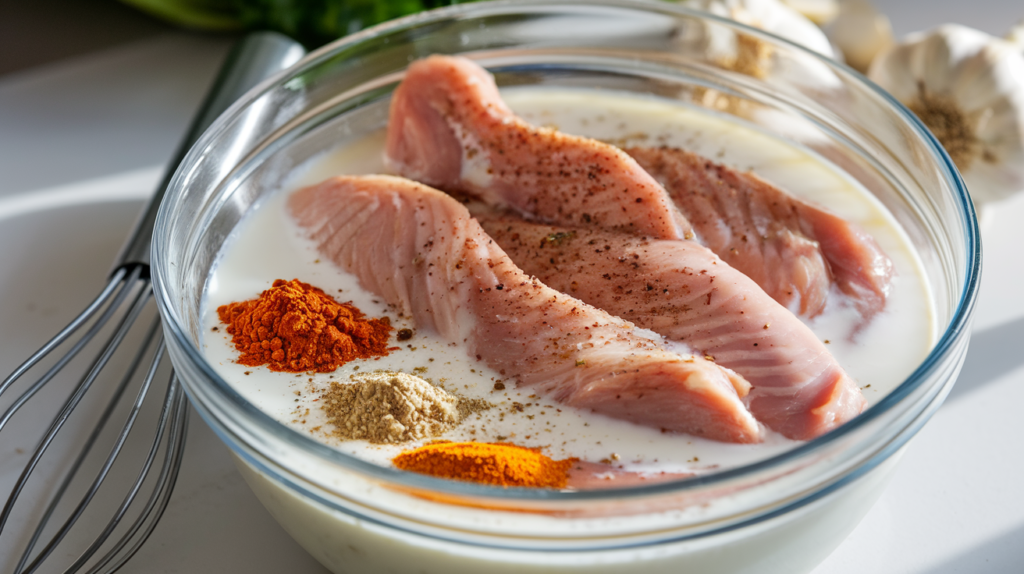
What Does Soaking in Buttermilk Do to Chicken?
Buttermilk contains mild acids and enzymes that help break down proteins in the chicken. This tenderizes the meat without making it tough, resulting in juicy chicken that melts in your mouth. Additionally, the slight tang of buttermilk enhances the overall flavor, giving the chicken a subtle, delicious kick.
Why Coat Chicken in Buttermilk?
Coating chicken in buttermilk before breading serves two important purposes:
- Flavor Enhancement: The tangy buttermilk acts as a natural marinade, infusing the chicken with flavor as it soaks.
- Better Breading: Buttermilk creates a sticky surface, making it easier for the breading to cling tightly to the chicken. This ensures an even, crispy coating when fried or baked.
How Long Should You Leave Chicken in Buttermilk?
The ideal marination time depends on your schedule:
- Quick Soak: Even 30 minutes in buttermilk can make a difference, especially if you’re in a hurry.
- Best Results: For maximum tenderness and flavor, marinate the chicken for 4-6 hours in the refrigerator.
- Overnight Option: You can marinate the chicken overnight, but try not to exceed 24 hours, as too much acid can begin to break down the meat excessively.
Key Ingredients for Buttermilk Chicken
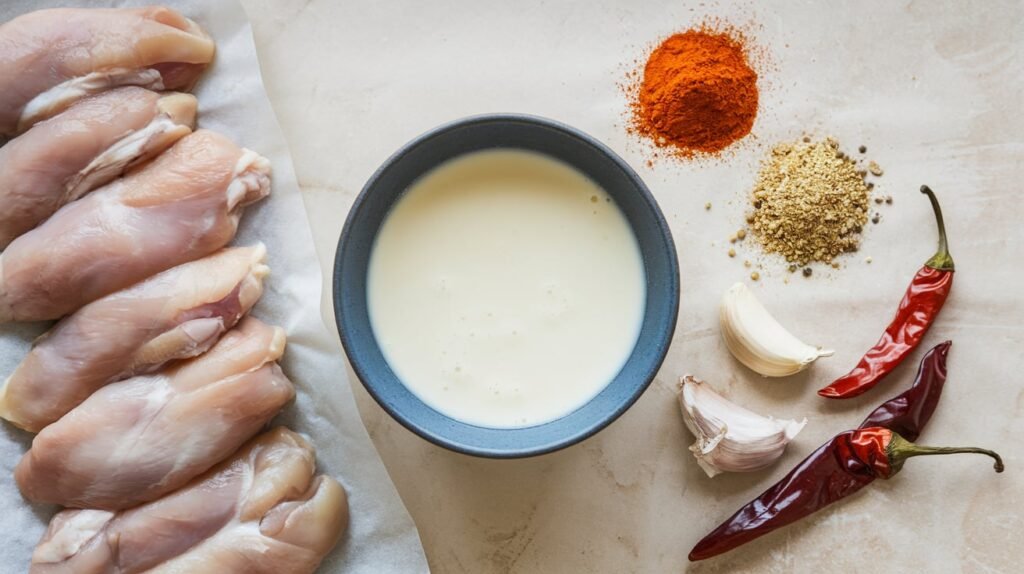
Here’s what you need to create the perfect buttermilk chicken tenders:
- Chicken Tenders or Breast Strips: Use boneless, skinless chicken breasts cut into strips or pre-cut tenders.
- Buttermilk: Full-fat buttermilk is ideal, but low-fat works too.
- Spices for Marinade: Add garlic powder, paprika, salt, and black pepper to the buttermilk for extra flavor.
- Breading Mixture: Combine flour, breadcrumbs, and seasonings to create a flavorful crust.
Buttermilk Chicken Fingers Baked vs. Fried
Whether you bake or fry, buttermilk makes a difference:
- Fried: Buttermilk enhances the crispiness of the breading while keeping the chicken juicy inside.
- Baked: Even in the oven, buttermilk ensures the chicken stays moist while the breading gets golden and crunchy.
Chicken Tender Strip Preparation
The key to perfect buttermilk chicken tenders lies in the preparation. From cutting the chicken to marinating it, each step contributes to the flavor and texture of the final dish.
1: Choosing the Right Chicken
For the best results, use fresh, boneless, skinless chicken breasts or pre-cut chicken tender strips. If using whole chicken breasts:
- Lay the chicken flat on a cutting board.
- Slice it into evenly sized strips, about 1 inch wide, to ensure even cooking.
2: Preparing the Buttermilk Marinade
The marinade is where the magic happens! It tenderizes the chicken and infuses it with flavor. Follow these steps to create the perfect marinade:
- In a large mixing bowl, pour 2 cups of buttermilk.
- Add the following spices for maximum flavor:
- 1 teaspoon of garlic powder
- 1 teaspoon of smoked paprika
- 1/2 teaspoon of cayenne pepper (optional for a slight kick)
- 1 teaspoon of salt and 1/2 teaspoon of black pepper
- Whisk the mixture until well combined.
- Submerge the chicken strips in the marinade, ensuring all pieces are fully coated. Cover the bowl with plastic wrap and refrigerate for 4-6 hours, or overnight for deeper flavor.
3: How to Get Breading to Stick to Buttermilk Chicken
After marinating, it’s time to coat the chicken in a crispy breading. For breading that sticks perfectly, follow these tips:
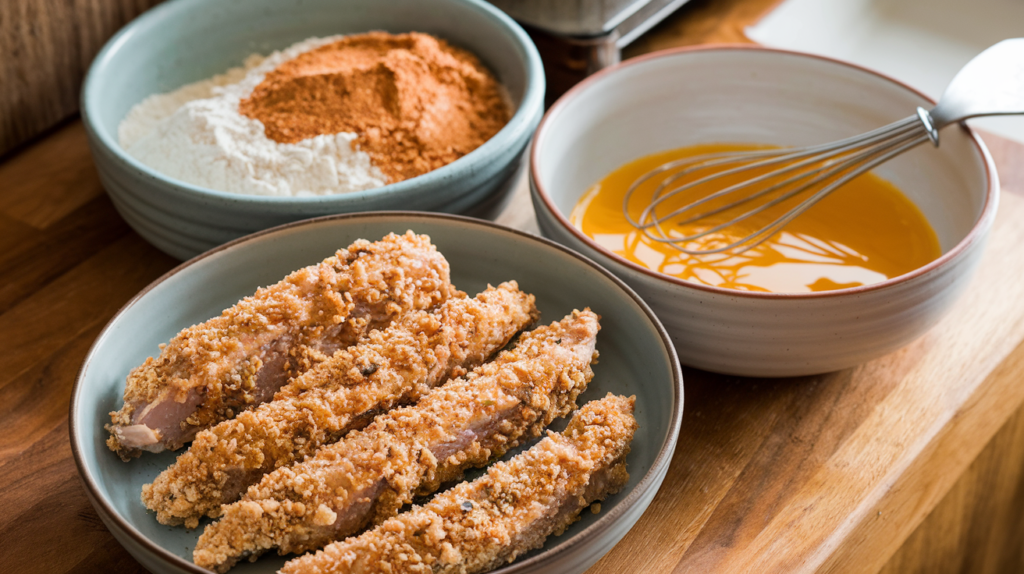
- Prepare a Breading Station:
- In one shallow bowl, place 1 1/2 cups of all-purpose flour.
- In a second bowl, whisk 2 eggs with a tablespoon of water.
- In a third bowl, combine 1 cup of breadcrumbs with 1/2 cup of flour, 1 teaspoon of paprika, and a pinch of salt and pepper.
- Double Coat for Extra Crispiness:
- Remove a strip from the buttermilk, allowing the excess to drip off.
- Dredge it in the flour, then dip it into the egg mixture.
- Finally, press it firmly into the breadcrumb mixture, ensuring a thick, even coating.
- Let It Rest:
- Place the coated strips on a wire rack and let them sit for 10-15 minutes. This step helps the breading adhere during frying or baking.
4: Buttermilk Chicken Fingers Baked Option
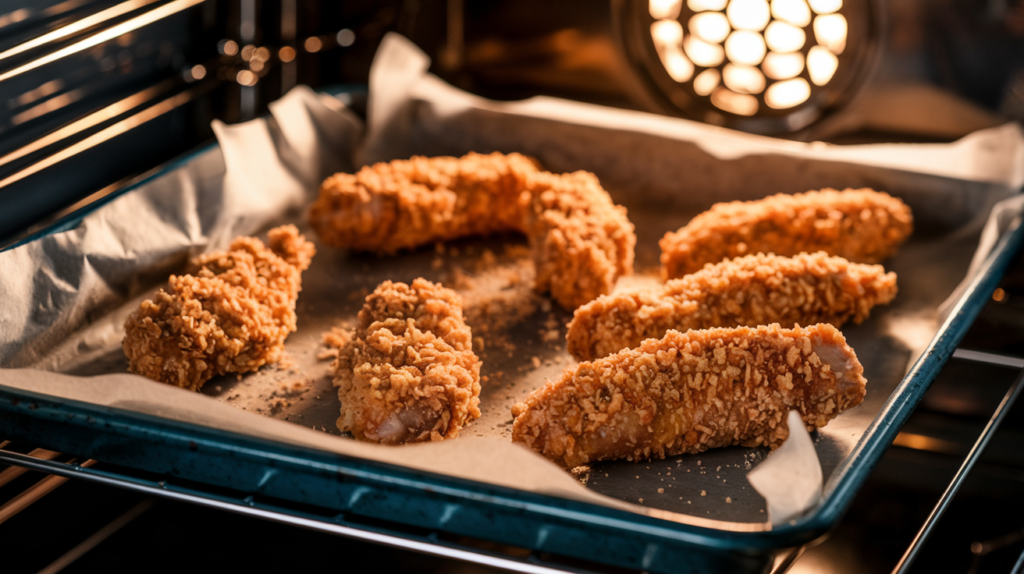
For a healthier alternative, bake the breaded chicken strips instead of frying them. Here’s how:
- Preheat the oven to 400°F (200°C).
- Line a baking sheet with parchment paper and lightly grease it with cooking spray.
- Arrange the breaded chicken strips on the sheet, leaving space between each piece.
- Spray the tops of the chicken with cooking spray for a golden finish.
- Bake for 20-25 minutes, flipping halfway through, until the chicken is cooked through and the coating is crispy.
Chicken Strips Fry Technique
For the ultimate crispy chicken tenders, frying is the way to go:
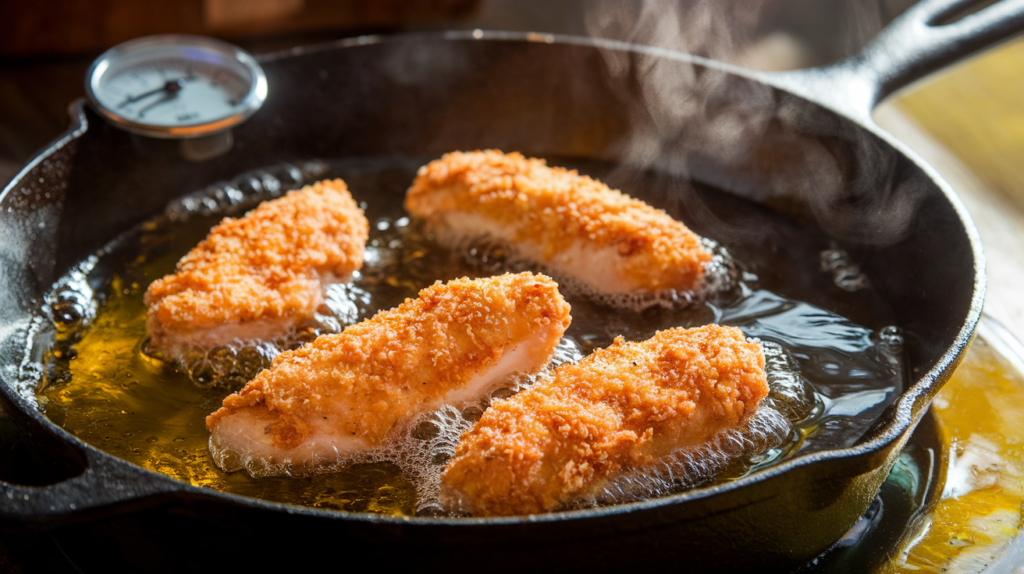
- Heat the Oil:
- In a deep skillet or Dutch oven, heat 2 inches of oil to 350°F (175°C). Use a thermometer for accuracy.
- Fry in Batches:
- Carefully add a few chicken strips at a time, making sure not to overcrowd the pan.
- Fry for 4-5 minutes per side, or until the coating is golden brown and the internal temperature of the chicken reaches 165°F (74°C).
- Drain and Serve:
- Remove the strips with a slotted spoon and place them on a plate lined with paper towels to drain excess oil.
Making the Perfect Breading and Frying Techniques
The Secret to Perfect Breading
Getting the breading just right is essential for crispy, golden buttermilk chicken tenders. Here’s how to achieve breading that sticks and stays crisp:
- Dry the Chicken Lightly:
After removing the chicken from the buttermilk marinade, let the excess drip off, but don’t pat it completely dry. A slightly damp surface helps the flour stick better. - Use Seasoned Flour:
Mix spices like garlic powder, paprika, cayenne pepper, and salt directly into the flour. This ensures every bite is packed with flavor. - Double Dip for Extra Crunch:
After coating the chicken in flour, dip it back into the buttermilk or an egg wash, then coat it again in the breadcrumb mixture. This double layer creates a thicker, crunchier crust. - Let the Breading Rest:
Allow the breaded chicken strips to sit for 10-15 minutes before frying. This step prevents the coating from sliding off during cooking.
Chicken Strips Fry Techniques
Frying chicken strips to perfection requires attention to detail. Follow these steps for the crispiest results:
1. Choosing the Right Oil
Use oils with a high smoke point, such as canola, vegetable, or peanut oil. These oils stay stable at high temperatures and won’t overpower the flavor of the chicken.
2. Heating the Oil
- Heat the oil to 350°F (175°C). A thermometer is the most reliable way to ensure the temperature is right.
- If the oil is too hot, the breading will burn before the chicken cooks through. If it’s too cool, the chicken will absorb excess oil and become greasy.
3. Frying in Small Batches
- Fry only a few chicken strips at a time to maintain the oil’s temperature. Overcrowding the pan lowers the temperature and results in soggy, unevenly cooked chicken.
4. Monitoring Cook Time
- Fry each strip for about 4-5 minutes per side. The chicken is ready when the crust is golden brown and the internal temperature reaches 165°F (74°C).
Alternative: Buttermilk Chicken Fingers Baked
If you prefer a lighter option, baking chicken tenders is a fantastic alternative to frying. With a few tweaks, you can achieve a crispy coating without the extra oil.
Baking Instructions
- Preheat the oven to 400°F (200°C).
- Prepare a baking sheet lined with parchment paper or a wire rack for better air circulation.
- Arrange the breaded chicken strips in a single layer, ensuring they don’t touch.
- Spray the strips lightly with cooking spray or oil for a golden finish.
- Bake for 20-25 minutes, flipping halfway through to ensure even crisping.
Tips for Better Baked Chicken Strips
- Use panko breadcrumbs for extra crunch.
- Preheat the baking sheet to help the coating crisp up faster.
- Finish with a broil setting for 1-2 minutes if you want additional crispiness.
Serving Suggestions
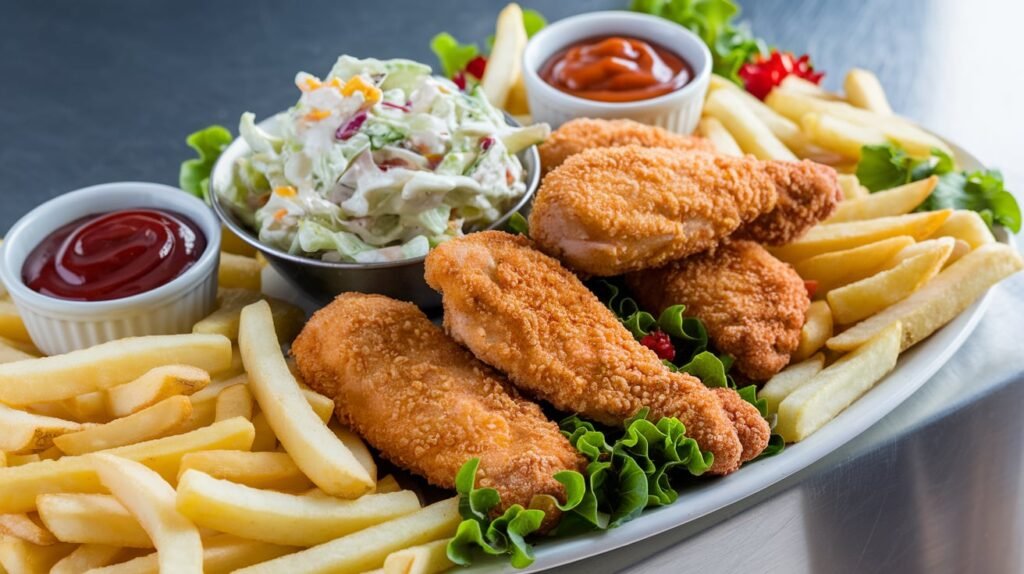
Crispy buttermilk chicken tenders are versatile and pair well with various side dishes and dipping sauces. Here are some ideas:
Dipping Sauces
- Classic ranch dressing
- Honey mustard
- Spicy sriracha mayo
- Sweet and tangy barbecue sauce
Side Dishes
- French fries or potato wedges
- Coleslaw for a refreshing crunch
- Macaroni and cheese for a comforting combo
- A light green salad for a balanced meal
Serve these chicken tenders with a variety of dipping sauces, or pair them with fresh veggies for a balanced meal. Perfect for any occasion! If you’re looking for more chicken dishes to add to your repertoire, the Honey Garlic Chicken Wings are a sticky and flavorful option that’s sure to please.
Tips for Perfect Results for Crispy Buttermilk Chicken Tenders
Making crispy buttermilk chicken tenders at home can be simple, but even small mistakes can affect the outcome. Follow these expert tips to ensure your chicken tenders turn out perfectly every time.
1. Why Does My Breading Fall Off My Buttermilk Chicken?
One common issue is breading that doesn’t stick. To prevent this:
- Dry Chicken Properly: After marinating, let the excess buttermilk drip off before breading. Too much liquid can cause the breading to slide off.
- Press the Breading Firmly: After coating the chicken in flour and breadcrumbs, gently press the breading into the meat. This creates a stronger bond.
- Don’t Skip the Resting Period: Allow the breaded chicken to sit for 10-15 minutes before frying or baking. This step helps the coating adhere better during cooking.
2. Use the Right Tools
- Wire Rack for Baking: If you’re baking the tenders, a wire rack allows air to circulate, creating an evenly crispy crust.
- Thermometer for Frying: Monitor the oil’s temperature to avoid burning the breading or undercooking the chicken.
3. Season Generously
Flavor is key! Be sure to season every layer:
- Marinade: Add spices like garlic powder, paprika, and cayenne to the buttermilk.
- Flour Mixture: Mix salt, pepper, and other seasonings directly into the flour for an even flavor.
- Breadcrumbs: Include parmesan cheese or dried herbs for a gourmet twist.
4. Monitor Cooking Time
Overcooking can dry out your chicken, while undercooking is unsafe. To get it just right:
- Fry each tender for 4-5 minutes per side, depending on thickness.
- For baking, aim for 20-25 minutes at 400°F (200°C) or until the internal temperature reaches 165°F (74°C).
5. Storing and Reheating Leftovers
Storing
- Allow cooked tenders to cool completely.
- Store them in an airtight container in the refrigerator for up to 3 days.
Reheating
To retain their crispiness:
- Oven: Preheat to 375°F (190°C), place tenders on a wire rack or baking sheet, and heat for 10-12 minutes.
- Air Fryer: Heat at 350°F (175°C) for 5-7 minutes for quick and crispy reheating.
- Avoid Microwaving: While convenient, microwaving can make the breading soggy.
Common Mistakes to Avoid
- Skipping the Marinade: Don’t rush the process! The buttermilk marinade is essential for tender, flavorful chicken.
- Overcrowding the Pan: Fry in small batches to maintain the oil’s temperature and achieve even cooking.
- Using Cold Oil: Start with properly heated oil to avoid greasy, soggy results.
Creative Variations for Crispy Buttermilk Chicken Tenders
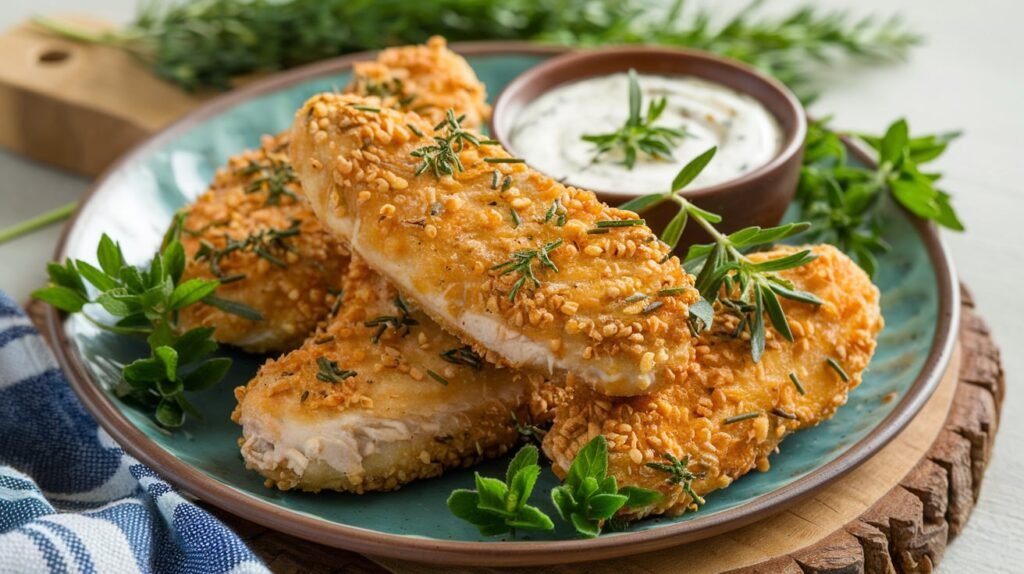
The secret to great chicken tenders lies in the seasoning and the method of preparation. With buttermilk marinade, your chicken will be tender and flavorful. For those who love chicken-based dishes with a twist, the Garlic Parmesan Chicken Pasta offers a creamy and savory alternative that’s equally satisfying.
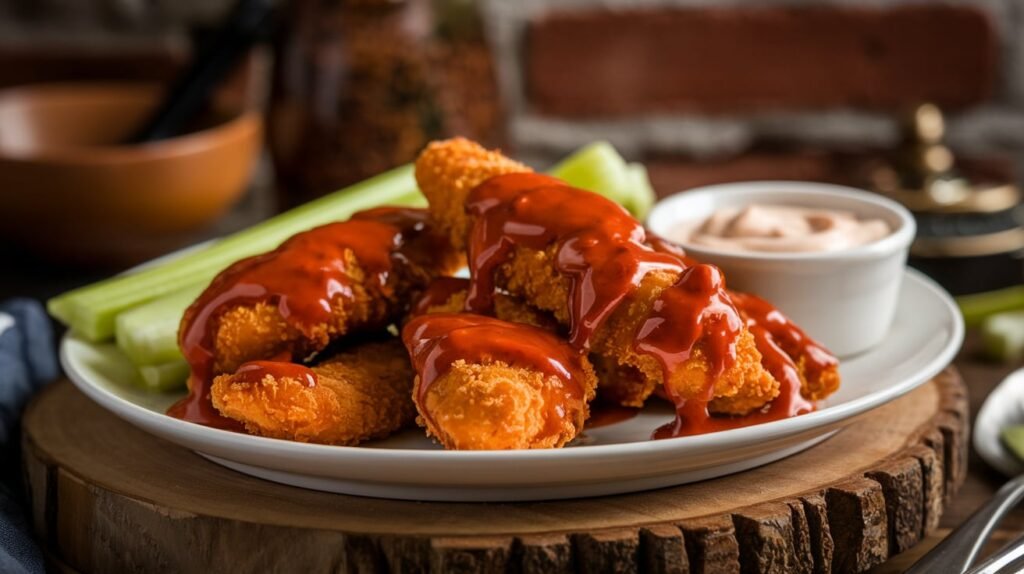
- Spicy Buffalo Style: Toss the fried tenders in buffalo sauce for a fiery flavor.
- Parmesan Herb Crust: Add grated parmesan and Italian herbs to the breadcrumb mixture for an elevated twist.
- Gluten-Free Option: Use gluten-free breadcrumbs and flour for a celiac-friendly version.
FAQs
1. What does soaking in buttermilk do to chicken?
Soaking chicken in buttermilk tenderizes the meat by breaking down proteins with its mild acidity. Unlike harsher marinades, buttermilk keeps the chicken moist and juicy while adding a subtle tangy flavor. This process also helps the breading adhere better, ensuring an even, crispy coating.
2. How do you get breading to stick to buttermilk chicken?
For breading to stick:
- Allow excess buttermilk to drip off before dredging the chicken in flour or breadcrumbs.
- Press the coating firmly onto the chicken for a better bond.
- Let the breaded chicken rest for 10-15 minutes before cooking. This step helps the breading adhere during frying or baking.
3. How long should you leave chicken in buttermilk?
The chicken should be marinated in buttermilk for at least 30 minutes for noticeable results. However, for the best tenderness and flavor, marinate for 4-6 hours in the refrigerator. If you have time, an overnight soak (up to 24 hours) yields even better results. Avoid exceeding 24 hours to prevent the chicken from becoming too soft.
4. Why does my breading fall off my buttermilk chicken?
Breading can fall off due to:
- Excess Moisture: Too much liquid on the chicken prevents the breading from sticking. Let the buttermilk drip off before breading.
- Skipping Resting Time: Allow the breaded chicken to sit before cooking to ensure the coating adheres.
- Crowded Pan: Fry in small batches to avoid the breading loosening from steam buildup.
5. Why do you coat chicken in buttermilk?
Coating chicken in buttermilk serves two purposes:
- Tenderizing: The natural acids in buttermilk break down proteins, creating soft, juicy meat.
- Flavor Enhancement: Buttermilk adds a tangy depth of flavor, while its creamy texture helps the breading stick, ensuring an evenly coated crust.
Conclusion
Crispy buttermilk chicken tenders are a crowd-pleasing dish that’s as versatile as it is delicious. Whether fried to golden perfection or baked for a lighter touch, these tenders deliver on both flavor and texture. The buttermilk marinade is the star, working its magic to tenderize the chicken and enhance the breading’s crispiness.
With this comprehensive guide, you’re equipped to make flawless chicken tenders that rival your favorite restaurant. From mastering breading techniques to avoiding common mistakes, each step ensures you’ll enjoy juicy, crispy tenders every time.
Pair your chicken tenders with dipping sauces like ranch or barbecue, or serve them with classic sides like fries or coleslaw for a complete meal. Don’t forget to experiment with baked options or unique flavors like spicy buffalo or parmesan herb crust.
Now it’s your turn—grab your ingredients, follow this recipe, and create a batch of irresistible buttermilk chicken tenders that your family and friends will love. Happy cooking!
![]()

