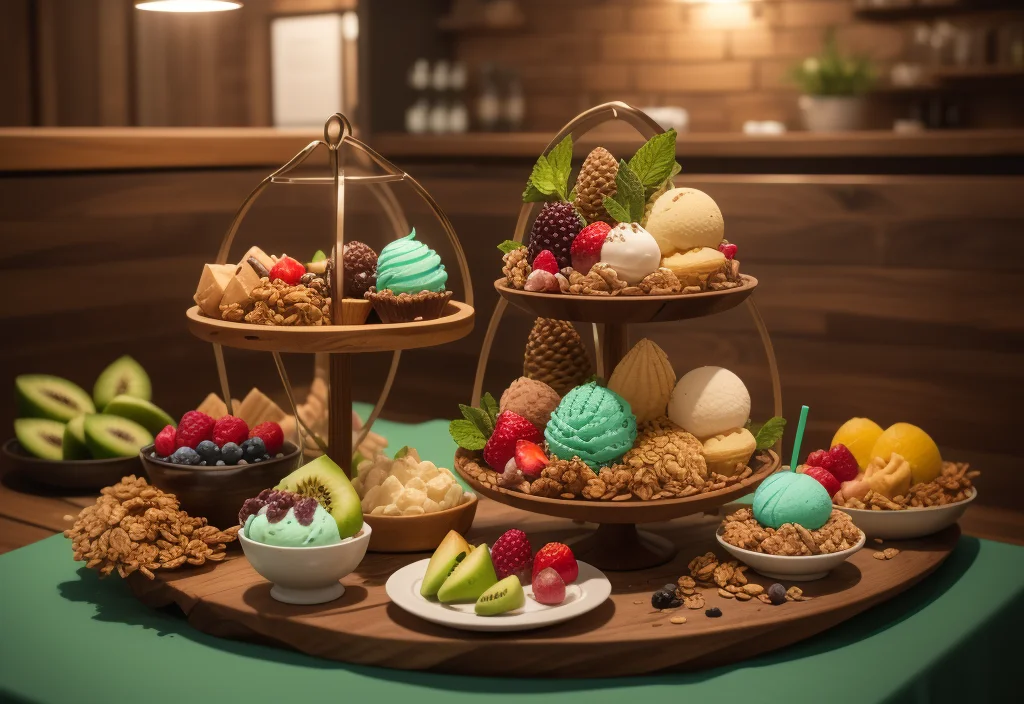
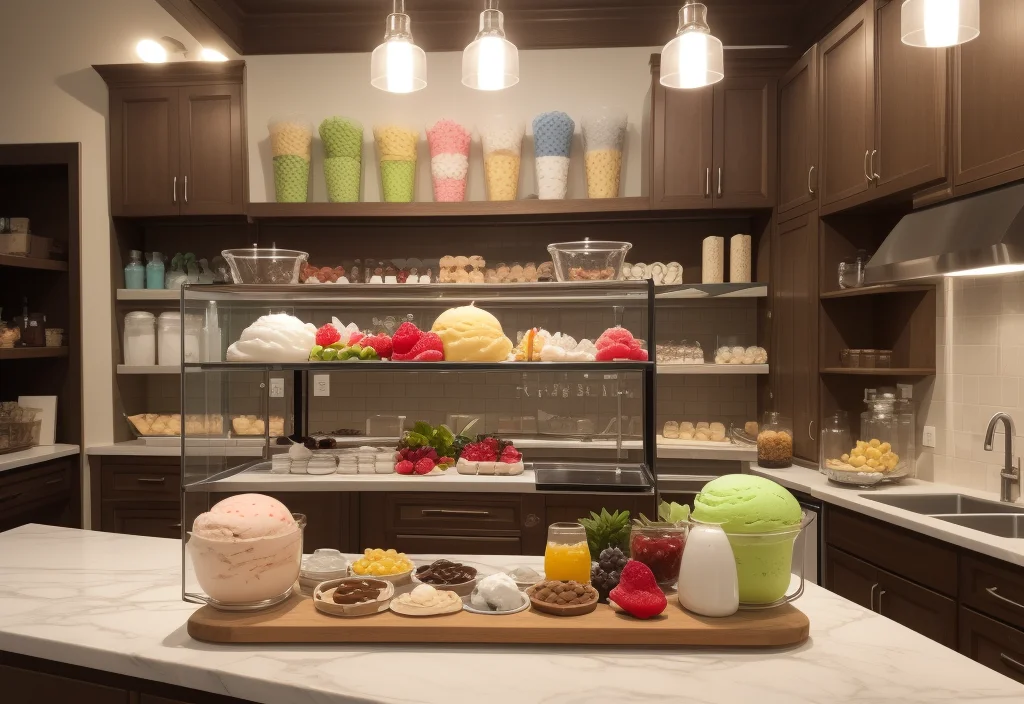
The Ninja Creami recipe is changing how we make frozen desserts at home. Imagine effortlessly creating creamy ice creams, refreshing sorbets, protein-rich smoothie bowls, and even keto-friendly frozen treats. With this innovative appliance, you can craft desserts tailored to your taste and dietary needs. It provides complete control over ingredients, flavors, and textures, making it a must-have for dessert lovers.
Whether you’re a health-conscious eater, an adventurous cook, or someone who simply loves ice cream, the Ninja Creami has something for you. In this article, we’ll guide you through mastering Ninja Creami recipe. From the basics to advanced creations, you’ll soon be making desserts that rival those of professional ice cream makers.
1. Benefits of Using the Ninja Creami
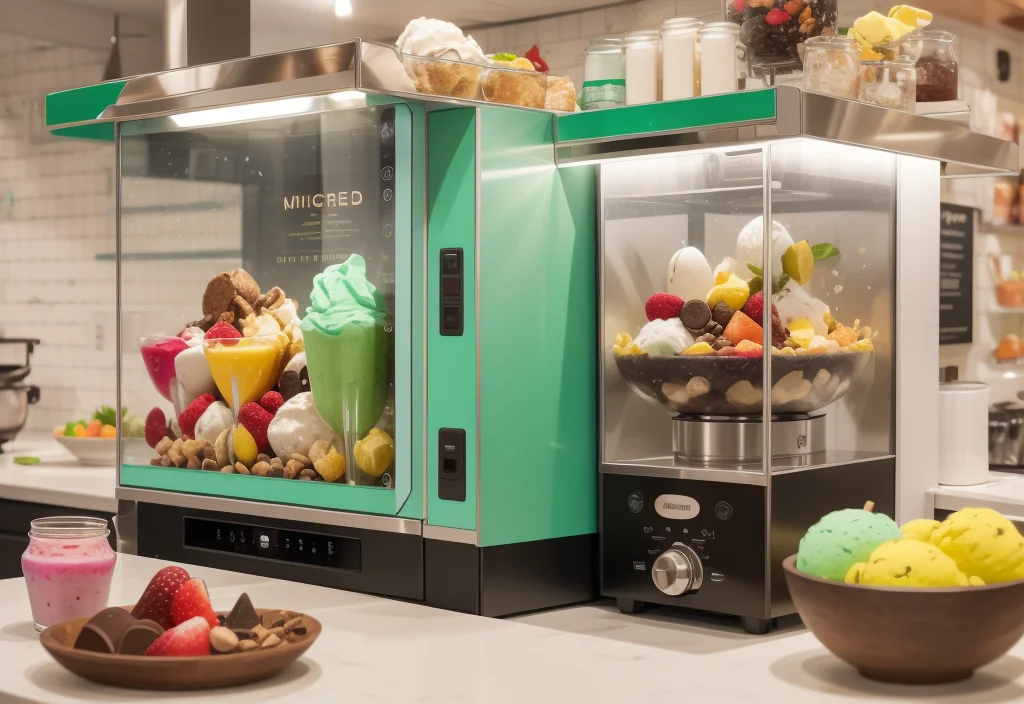
The Ninja Creami isn’t just another kitchen tool—it’s a game-changer for frozen dessert enthusiasts. Let’s explore why it’s so popular:
Customizable Recipes
Unlike store-bought ice creams that are full of preservatives and artificial additives, the Ninja Creami puts you in control. Whether you want a dairy-free sorbet, a post-workout protein treat, or a unique flavor, you can make it happen. This level of customization is ideal for families with dietary restrictions or anyone who loves experimenting in the kitchen.
Healthier Choices
If you’re health-conscious, the Ninja Creami opens endless possibilities for crafting desserts that align with your goals. Swap out sugar-laden store-bought treats for recipes featuring natural sweeteners, nutrient-packed ingredients, and fresh fruit. For a bright and refreshing idea, check out the Orange Zest Low-Carb Dessert for inspiration. By choosing wholesome ingredients, you can create indulgent treats that nourish your body and satisfy your cravings.
Easy to Use
The Ninja Creami is designed to make dessert-making simple. All you need to do is prepare your base, freeze it in the container, and let the machine work its magic. In just minutes, you’ll have a perfectly churned dessert ready to enjoy.
By combining ease of use, healthier options, and recipe flexibility, the Ninja Creami stands out as an essential appliance for creating homemade frozen treats. Transitioning to homemade desserts has never been easier—or more fun!
2. Essential Ingredients for Ninja Creami Recipe
Crafting the perfect frozen dessert with the Ninja Creami starts with selecting the right ingredients. For a rich and creamy texture, choose dairy-based options like whole milk or heavy cream. If you prefer plant-based alternatives, almond or coconut milk offers excellent creaminess. To further customize your creations, explore fruit purées like mango or strawberry for sorbets. For an overview of sorbet preparation and history, refer to this Wikipedia page on Sorbet.
These ingredient choices highlight the Ninja Creami’s adaptability, making it a must-have for anyone passionate about desserts.
Types of Bases
The base is the foundation of any Ninja Creami recipe. Depending on your desired dessert type, you can choose from the following:
- Dairy-Based Bases
- Use whole milk, heavy cream, or half-and-half for a rich and creamy texture. These bases are perfect for classic ice creams and gelatos.
- For lighter options, try low-fat milk or yogurt.
- Plant-Based Alternatives
- Almond milk, coconut milk, and oat milk are excellent choices for vegan and dairy-free recipes. Coconut milk, in particular, provides a luxurious creaminess.
- Fruit Purées
- Fruits like mangoes, strawberries, and peaches work well for sorbets and smoothie bowls. Blending the fruit into a purée ensures a smooth texture.
Sweeteners and Flavors
The sweetness and flavor of your dessert are entirely up to you. Here’s how to enhance your creations:
- Natural Sweeteners
- Honey, agave syrup, or maple syrup are great options for a healthier touch. These natural alternatives complement fruit-based recipes beautifully.
- Granulated Sweeteners
- Traditional white or brown sugar is ideal for achieving a classic dessert sweetness. For a low-calorie option, consider using stevia or monk fruit sweeteners.
- Flavor Extracts
- Vanilla, almond, and peppermint extracts are staples for adding depth to your desserts. A small amount can transform your recipe’s flavor profile.
- Spices and Mix-Ins
- Cinnamon, nutmeg, or even a pinch of sea salt can elevate your creations. Add chocolate chips, crushed cookies, or nuts for extra texture.
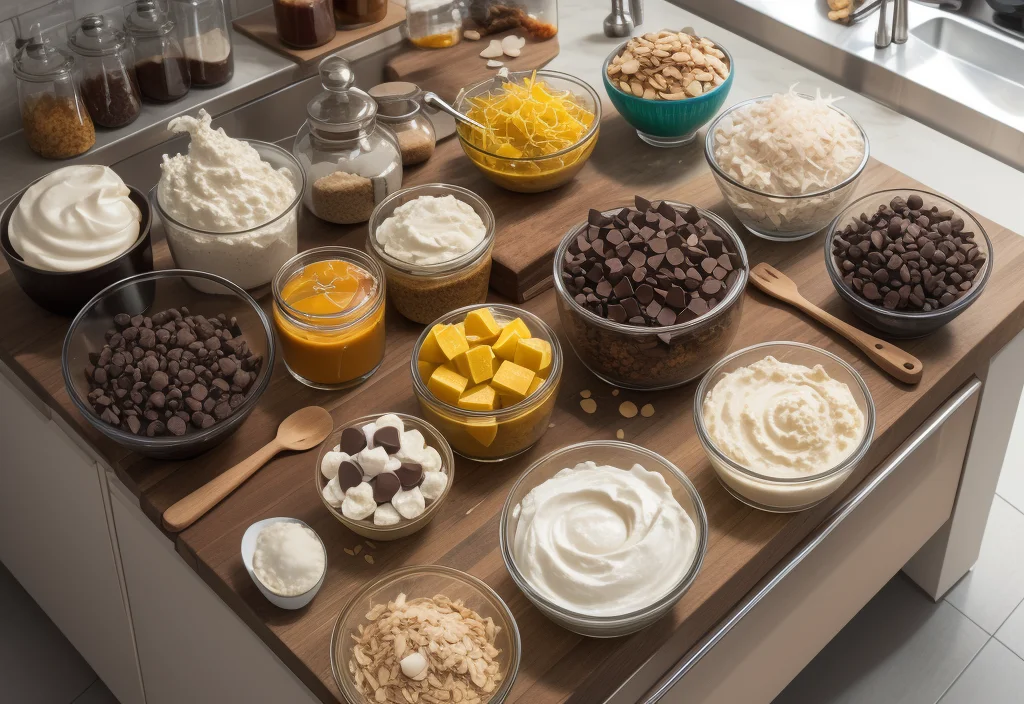
Toppings and Garnishes
To make your desserts visually appealing and even more delicious, consider these finishing touches:
- Fresh Fruits
- Add sliced berries, mangoes, or bananas for a vibrant and refreshing garnish.
- Crunchy Elements
- Crushed nuts, granola, or toasted coconut add texture and complexity.
- Sauces and Drizzles
- Chocolate syrup, caramel, or a simple fruit coulis can take your dessert to the next level.
3. Step-by-Step Guide to Using the Ninja Creami Recipe
The Ninja Creami is designed to be user-friendly, but following a clear process ensures you get the best results every time. Whether you’re making ice cream, sorbet, or a smoothie bowl, this step-by-step guide has you covered.
1: Preparing Your Base
The first and most critical step in using the Ninja Creami is creating your base. Here’s how:
- Select Your Recipe
Decide what type of dessert you’d like to make. For example:- Ice Cream: Use a dairy or plant-based milk with sweeteners and flavorings.
- Sorbet: Puree fruits with a splash of water or juice.
- Smoothie Bowl: Blend fruits with yogurt or a protein powder of your choice.
- Mix Thoroughly
Whisk your ingredients together until smooth and consistent. This ensures a uniform texture during freezing and churning. Avoid lumps by blending fruits or other solid ingredients beforehand. - Pour into the Container
Pour your base mixture into the Ninja Creami container. Be sure to leave some room at the top to allow for expansion during freezing.
2: Freezing the Base
Freezing is an essential step for achieving the right consistency. Follow these guidelines:
- Use a Level Surface
Place the container flat in your freezer to ensure even freezing. Tilted containers may result in uneven textures. - Freeze for 24 Hours
For optimal results, allow your base to freeze for at least 24 hours. This ensures it’s firm enough to churn into a creamy dessert. - Label Your Creations
If you’re making multiple batches, label each container with the recipe name and freeze date to stay organized.
3: Churning Your Dessert
Once your base is frozen solid, it’s time for the fun part—using the Ninja Creami to churn your creation.
- Attach the Container
Remove the lid from the container and secure it into the Ninja Creami machine. Make sure it clicks into place. - Choose the Right Setting
Select the setting that matches your dessert type. Common settings include:- Ice Cream
- Sorbet
- Gelato
- Smoothie Bowl
- Start the Machine
Press the start button and let the machine work its magic. The Ninja Creami’s advanced blades will churn your base into a smooth and creamy texture in just a few minutes.
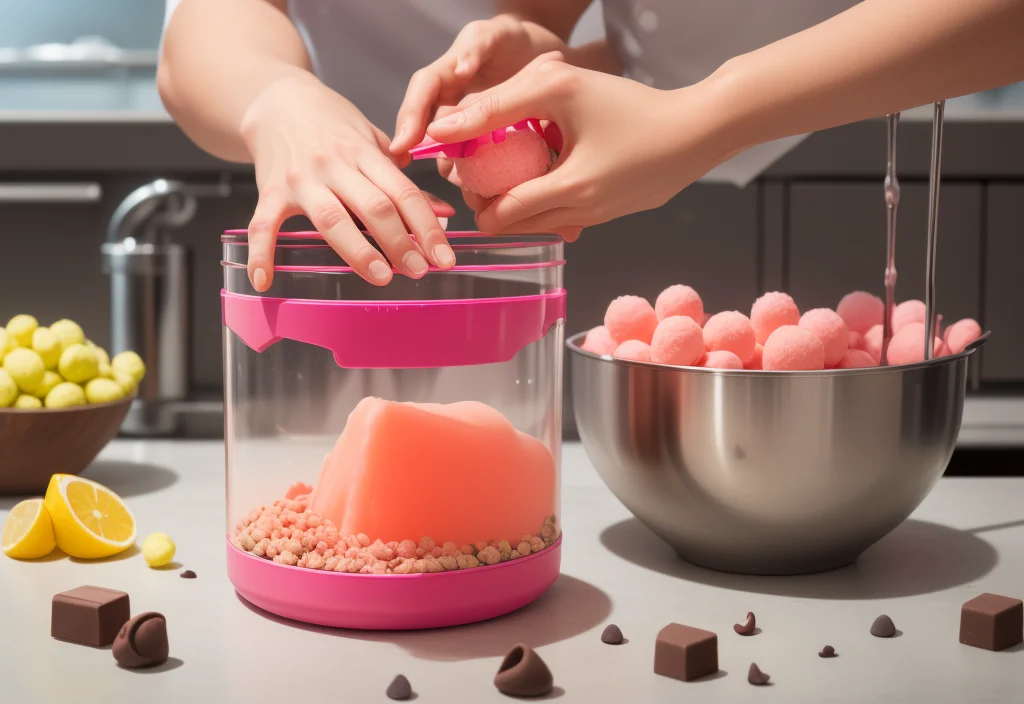
4: Adding Mix-Ins
Mix-ins like chocolate chips, nuts, or fruit chunks can elevate your dessert. Here’s how to incorporate them:
- Create a Well
After the initial churning, use a spoon to create a small well in the center of your dessert. - Add Mix-Ins
Place your desired mix-ins into the well. - Reprocess
Return the container to the machine and select the “Mix-In” setting. This ensures the add-ins are evenly distributed throughout.
5: Serving Your Dessert
Your dessert is now ready to serve! Scoop it into bowls or cones and garnish with toppings for a picture-perfect presentation.
2. How to Get Started with the Ninja Creami
To begin using the Ninja Creami recipe, you only need a few simple steps. First, gather your ingredients. Then, follow a recipe or create your own base mixture. After that, pour the mixture into the Ninja Creami container and freeze it for 24 hours. Finally, place the frozen container in the machine, select the right setting, and let it do the work for you.
Key Tips for Success
- Start with the basics: For beginners, it’s helpful to stick with simple recipes, like vanilla ice cream or a fruit sorbet. This allows you to get comfortable with the machine.
- Experiment step by step: Once you feel confident, try new ingredients or adjust recipes to fit your preferences. For example, you can substitute sugar with honey or add fresh fruit for extra flavor.
- Be patient: Freezing the base for 24 hours is essential for the best texture. Skipping this step might affect the results.
3. Creative Recipes to Try

The Ninja Creami recipe is perfect for making a variety of frozen treats. If you’re looking to explore unique desserts, why not try something adventurous? For example, you can experiment with savory-sweet combinations like the Crab Brûlée Recipe for a luxurious twist. This approach opens up a world of possibilities, allowing you to blend unexpected flavors and surprise your taste buds.
Classic Ice Cream
For a traditional dessert, try making creamy chocolate or strawberry ice cream. These flavors are simple to make, and they taste amazing.
Healthy Sorbets
If you prefer something lighter, sorbets made with fresh fruit and natural sweeteners are a great choice. They’re refreshing and easy to prepare.
Protein Smoothie Bowls
For a healthy snack, you can blend frozen fruits, yogurt, and protein powder. Top it with granola or nuts for added crunch.
Keto-Friendly Treats
If you’re following a keto diet, use almond milk, sugar substitutes, and cocoa powder to make a rich and satisfying dessert.
4. Why the Ninja Creami Recipe Stands Out
The Ninja Creami has quickly become a favorite kitchen appliance, and it’s easy to see why. For one thing, it’s versatile—you can use it for so many types of desserts. Additionally, it’s user-friendly, which makes it perfect for anyone, from beginners to experienced cooks. Most importantly, it allows you to create treats that are healthier and more personalized than store-bought options.
With the Ninja Creami, you’ll not only save money but also enjoy desserts that suit your taste and lifestyle. Furthermore, the ease of use means you’ll have more time to enjoy your creations with family and friends.
5. Final Thoughts
The Ninja Creami is a fantastic tool for anyone who loves frozen desserts. It makes creating delicious, healthy, and unique treats easier than ever. Plus, it’s a great way to explore your creativity in the kitchen.
If you’re ready to elevate your dessert game, start experimenting with the Ninja Creami today. Once you try it, you’ll wonder how you ever lived without it!
6. Common Mistakes to Avoid
Even though the Ninja Creami is easy to use, there are a few common mistakes you’ll want to avoid. By being aware of these, you can ensure your desserts turn out perfectly every time.
Not Freezing Long Enough
First and foremost, always remember to freeze your base for at least 24 hours. If you don’t, the mixture won’t have the right consistency, and the machine might not work as intended.
Overloading with Mix-ins
Another mistake is adding too many mix-ins at once. While it’s tempting to load your dessert with chocolate chips, nuts, or candies, doing so can make the final texture uneven. Instead, add small amounts and let the machine blend them gradually.
Skipping the Instructions
Lastly, always read the instructions for the machine and recipes. For instance, if a recipe calls for a specific type of milk or sweetener, following it closely will give you the best results.
7. The Versatility of the Ninja Creami
What makes the Ninja Creami so special is its versatility. Not only can it make classic ice creams and sorbets, but it can also handle unique recipes. For example:
- Dairy-Free Options: If you can’t have dairy, substitute with almond, oat, or coconut milk. These alternatives work beautifully and add their own unique flavors.
- Low-Calorie Treats: If you’re watching your calorie intake, you can use sugar-free sweeteners or fresh fruit for natural sweetness.
- Kid-Friendly Recipes: For kids, try making fun flavors like bubblegum or cookies and cream. The machine makes it easy to get creative with colors and mix-ins.
Furthermore, the machine’s presets take the guesswork out of the process. You don’t have to be an expert to get professional-quality desserts.
8. Why Everyone Loves the Ninja Creami recipe
Many people rave about the Ninja Creami, and it’s easy to understand why. First of all, it’s fun to use. The process of watching your base turn into creamy desserts is exciting, especially for families with kids. Additionally, the machine offers endless customization. Whether you want a classic treat or something entirely new, the Ninja Creami makes it possible.
Another reason people love it is because it’s budget-friendly. Instead of spending money on expensive store-bought ice creams, you can make your own for a fraction of the cost. Plus, you’ll know exactly what’s in your dessert, which is a big bonus for anyone trying to eat healthier.
9. Ready to Get Started?
Now that you know everything about the Ninja Creami, it’s time to start creating! Begin with a simple recipe, such as vanilla ice cream or a fruity sorbet. As you gain confidence, try experimenting with new ingredients and flavors. With practice, you’ll be amazed at the desserts you can create.
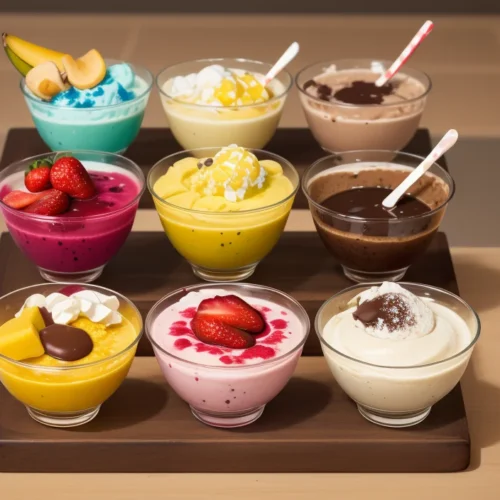
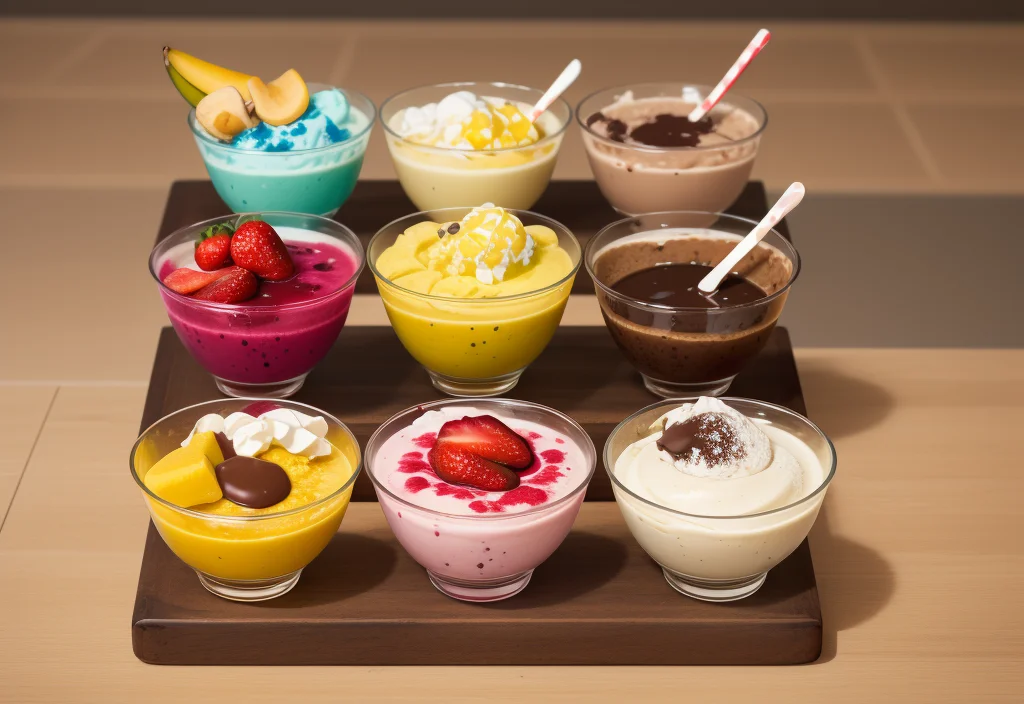
Assorted Dessert Mousse Bowls
Ingredients
- 2 cups heavy cream cold
- 1/2 cup powdered sugar
- 1 teaspoon vanilla extract
- 1/2 cup melted chocolate for chocolate mousse
- 1/2 cup pureed mango for mango mousse
- 1/2 cup pureed strawberry for strawberry mousse
- 1/2 cup dragon fruit puree for dragon fruit mousse
Instructions
Prepare the Base:
- In a mixing bowl, whip the cold heavy cream, powdered sugar, and vanilla extract until soft peaks form.
Create Flavored Mousses:
- Divide the whipped cream into separate bowls. Gently fold in the flavoring ingredients (e.g., melted chocolate, fruit purees) into each bowl until evenly mixed.
Chill and Serve:
- Spoon each mousse into serving glasses or bowls. Refrigerate for at least 2 hours before serving.
Notes
- Customization: Feel free to experiment with other flavors like matcha, coffee, or caramel.
- Storage: Store leftover mousse in the refrigerator for up to 3 days.
- Tips: For a firmer mousse, fold in a bit of melted gelatin before chilling.
FAQs About Crème Brûlée
1. What Does Crème Brûlée Taste Like?
Crème brûlée has a rich, creamy texture with a flavor that combines sweet vanilla custard and the slight bitterness of caramelized sugar. The crunchy caramelized top adds a delightful contrast to the smooth custard underneath, making it a favorite for dessert lovers.
2. What’s the Difference Between Crème Brûlée and Custard?
While both are custard-based desserts, the key difference lies in the topping. Crème brûlée is topped with a layer of sugar that is caramelized to form a crisp shell. Traditional custards, on the other hand, do not have this caramelized sugar layer. Additionally, crème brûlée tends to be richer due to the use of cream and egg yolks, while custards may be lighter and made with more milk.
3. What Is Crème Brûlée Made Of?
Crème brûlée is made from a few simple ingredients:
- Heavy Cream: Provides the rich and creamy base.
- Egg Yolks: Give the custard its smooth texture.
- Sugar: Sweetens the custard and forms the caramelized top.
- Vanilla Extract or Bean: Adds the classic flavor.
These ingredients are combined to create a luscious custard that is baked and then chilled before caramelizing the top.
4. How to Caramelize Crème Brûlée?
To caramelize the sugar topping:
- Sprinkle a thin, even layer of granulated sugar over the chilled custard.
- Use a kitchen torch to heat the sugar until it melts and turns golden brown.
- Allow the caramelized layer to harden for a minute or two before serving.
If you don’t have a torch, you can place the custard under a broiler for a few seconds, but be careful to monitor it closely to avoid burning the sugar.
In conclusion, the Ninja Creami is not just a kitchen appliance—it’s a gateway to endless possibilities. With its ease of use, flexibility, and ability to make healthier treats, it’s perfect for anyone who loves frozen desserts. So, grab your Ninja Creami and start making delicious memories today!
